 |
| Artiste Bundle |
 |
| The Hostess gift purse and the ball. |

 It will look like the picture in the left when you are done. Your next step is to adhere one circle on both sides in between the ones you just put on. After you do this you will be able to clearly see where the last 5 will go. It will look like the picture on the right. The finished product will be a ball.

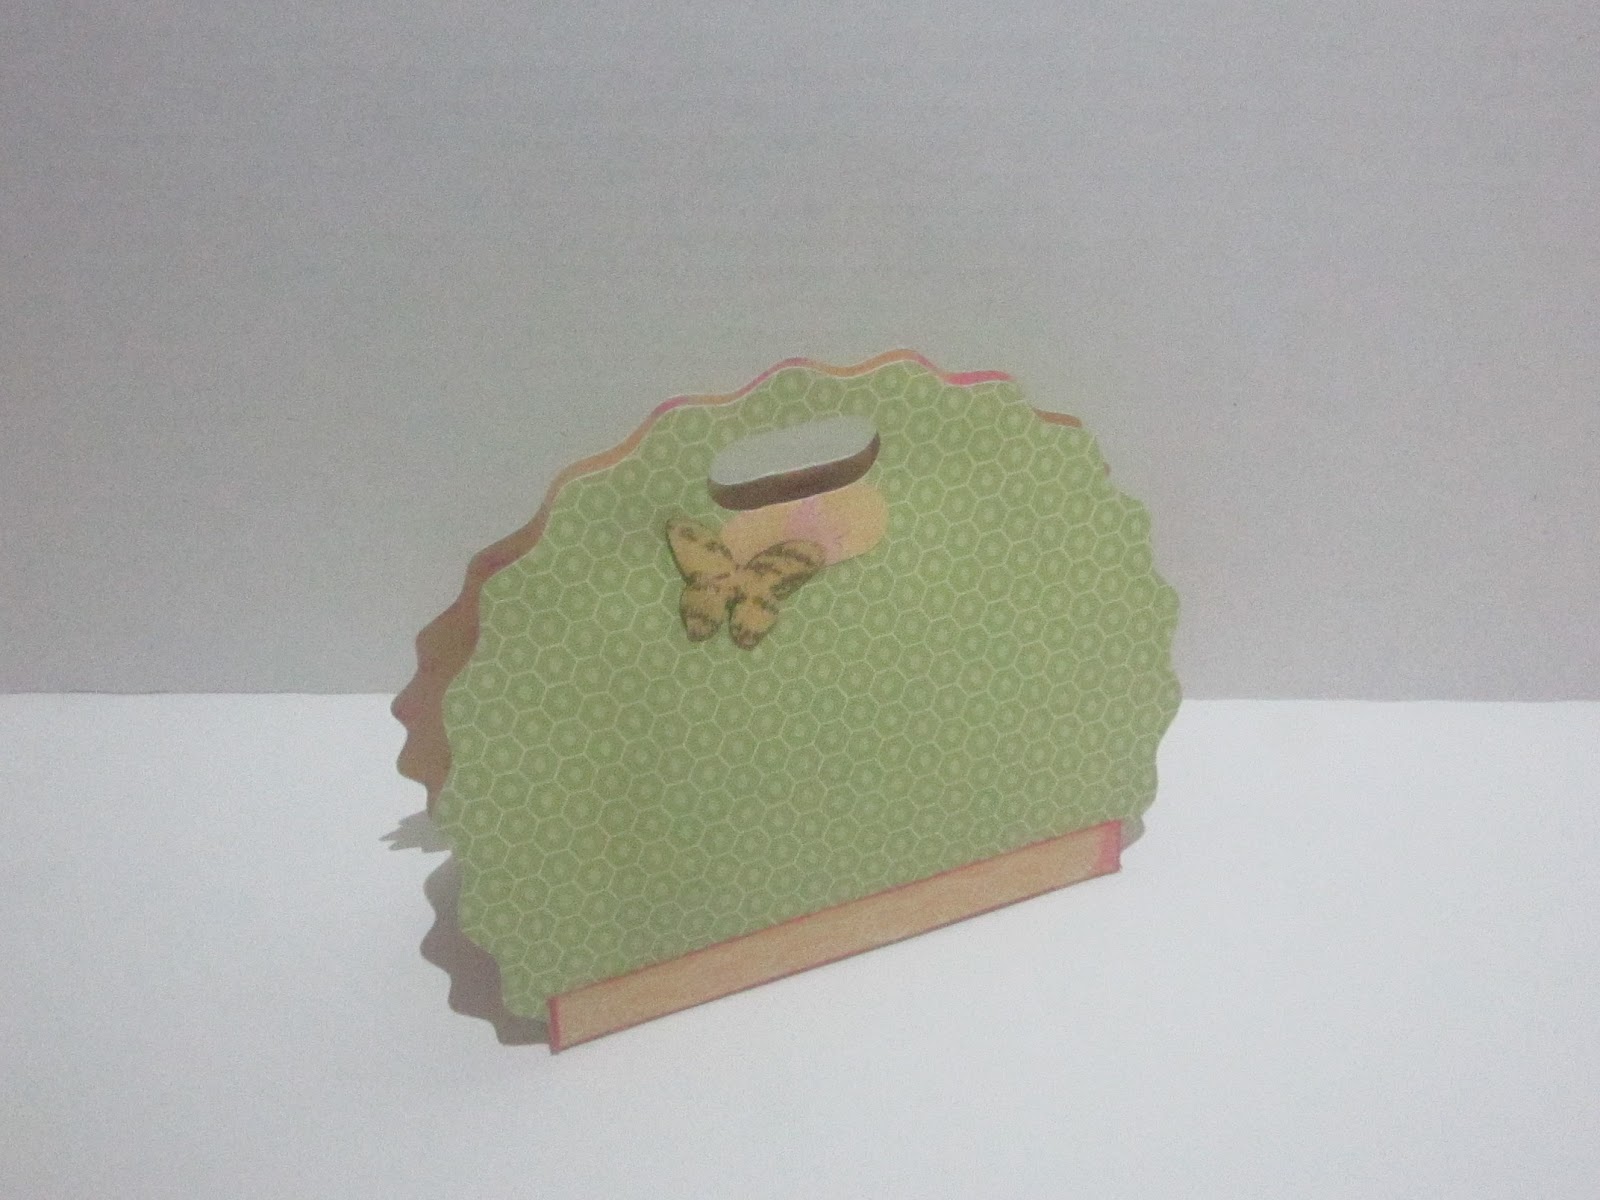
Next I want to tell you about my Hostess gift purse. It is cut at 4.5 inches with Lucy Paper. I used the wooded color ready shapes (garden variety) to give it a little flair. This was simple to put together and comes out looking amazing. It is page 32 in the handbook. There are several different purse shapes, but I like this one because it have the little pocket inside! If you cut it smaller it would be perfect for gift cards of jewlery! I am calling it my hostess gift purse because I plan to put hostess gifts inside! The picture below is the purse closed and ready to give. The strip along the bottom was just the zip strip from the paper I used
 |
| The Front of the Purse |
 |
| The inside. I used the two reinkers as place holders, but I plan on putting the petite perks stamp set I have in there! |
 |
| Purse form the back. |
Your next stop should be Adeline, www.adeline-brill.blogspot.com The full list is also below! Happy Hopping.
Blog Hop List
Gloria Rogers - http://www.scraptabulousstudio.com/
Tricia Rathke - http://craftingthedayawayy.blogspot.com/
Lalia Harris - http://craftylalia.blogspot.com/
Rebecca Kings - http://heartfeltcreationsbybecca.blogspot.com
Adeline Brill - www.adeline-brill.blogspot.com
Kathy Johnson - http://kathyscreativecorner.com/
Amy Edwards - http://Paisleysplayhouse.blogsot.com
Jen Patrick - http://roxybonds-scrappin.blogspot.com/
Pamela O’Connor - http://reflectionsofmyartandsoul.com
Melinda Everitt - http://ifyoublingit.blogspot.com/
Tina Gale Husong - http://tiggersscrapplace.blogspot.com/
Denise Hobbs - http://oklahomainker.blogspot.com/
I'm glad that tip worked for you. I had a really hard time figuring this one out at first.
ReplyDelete