Friday, October 12, 2012

Christmas in October!

So I realize it is still October, but as we crafters know you have to get on those Christmas crafts early! For this weekends project I made a Christmas banner with the left over pieces from the Halloween banner! I had to use a three letter word and the first that came to mind was "joy" so that is what I used.

 I also used the Pear and Partridge Workshop On The Go. I used all the inks that coordinate with the paper pack. They are Champagne, Smoothie, Cranberry, Olive, New England Ivy and Desert Sand. I used the brown in the neutral pack of bakers twine to hold the pieces together. There are rings that come with the mini-banner to hold them together, but I don't like the look of them. I put two on the ends of the banner to help hang it on the wall. I used the Art Philosophy to cut the banner shapes and Artiste to cut the letters and rosettes.

This is a close up of the right side.

This is the close up of the left end piece. 


 I hope you enjoyed reading this post. If you have any questions just post or email! Hope you come back next week!!


Sunday, October 7, 2012

Halloween Banner

So this is the class for October. I am using the Moonlight Workshop On The Go, a mini banner and our slate polka dot ribbon. I also used the Art Philosophy and Artiste Cricut cartridges to cut the banner shapes, letters and rosettes behind the letters.


I realize it is hard to see in this picture but I knotted the ends of the ribbon around a couple of the jump rings that come with the banner. I thought this would help with the hanging of the banner. 
 The two pictures on the left are the ends of the banner. The two pictures on the right are the middle of the banner. The images all come from the stamp set that comes with the Workshop On The Go. The sparkles and brads also come with the kit. The rosettes are fairly simple to make. On Artiste you cut two of the same strips, score them on the score line and glue the two ends together. Next you cut out a circle for the back and push the middle in. This will hold your rosette flat. The rest was just cutting and pasting.


I know that I have been a little behind on posting new projects and I am sorry about that. I have been moving so there has not been much crafting time. I will try to have at least one project a week up for you for October! Happy Halloween and remember any questions just ask! 

Tuesday, September 4, 2012

Clementine Card- Make It From Your Heart

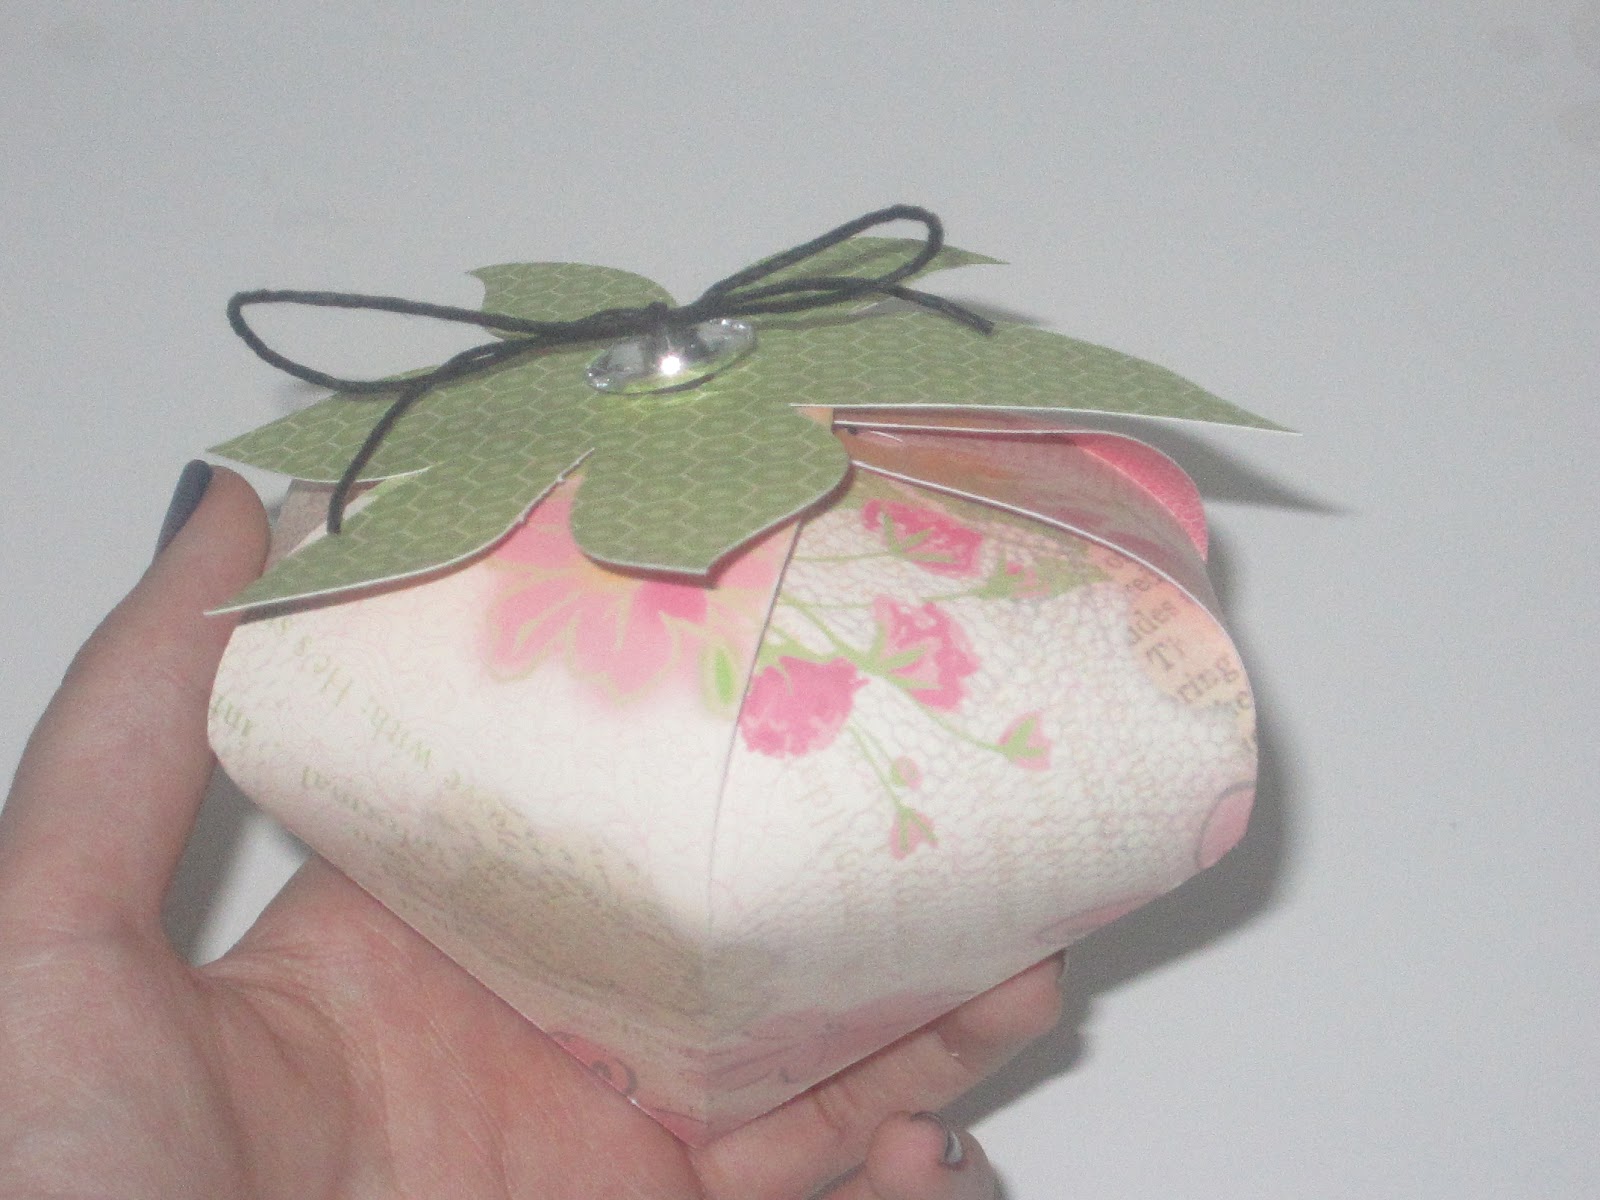
This another card from the new fantastic Make It From Your Heart how to book. This pattern is very versatile and is a great way to show off patterns in our papers. I also took this chance to play with our new markers and added some coloring! Remember with the new alcohol ink based markers you get two markers, the color and then a lighter or darker shade. These will bleed through the paper a little so if you use them on a card, be prepared to have something to cover the other side of the paper. The stamp set for this card is the stamp of the month for September, Fall Favorites. Remember for the Stamp of the month, if you spend 50.00 you will get the stamp set for 5.00!

I stamped the background of the card with the pumpkin/acorn image. The squares are cut at 1.5x1.5 in, then cut in half diagonally. This creates the patchwork look on the background. I used on of our bulk cards so it came with a pre-made envelope.


I wanted to let you know about our other specials this month! If you spend 35.00 you get the double stamp set, It's Your Day, for 5.00. Also if you are thinking about getting into scrap-booking I am running a starter kit special. In the starter kit you will get 1 Reflections Paper Pack of your choice, 1 A-size stamp set of your choice, 1 Ink pad of your choice, a tombow adhesive,and a 3x3 Acrylix block to get you going. All of this for 35.00! That is a 40.00 savings! For the starter kit you will have to contact me directly. My email is at the top. For any of my other specials please just visit my online Close To My Heart website at, www.rebeccakings.myctmh.com

Hope I inspired you today!!

Flirty Card

So Close to my Heart came out with a new how-to book. Sadly we discontinued our other ones, but this one more than makes up for it! It is 7.95 and it has blue prints for layouts and cards This card is from our new book, Make It From Your Heart.


This is the artwork they showed for the pattern I used for this card.
I have the card covering the dimensions because I wanted to show you how
versatile the designs are.

For the card I used Flirty paper from our Spring/Summer catalog. I also used Cotton Candy, New England Ivy, and Goldrush inks. New England Ivy and Goldrush are recommended colors for this paper pack, but Cotton Candy is a color I chose to use to match the exclusive Flirty Raspberry that is in this paper pack. I also used our new pigment inks in New England Ivy and Goldrush to ink edges.

Card and Inks used.

The stamp set I used it called "It's Your Day". This month if you spend 35.00 with me you can get this double stamp set for just 5.00! 

It's Your Day double stamp set.


Sunday, September 2, 2012

Ribbon Flower...


So I must aplogize for my abscense from the Blog....Life just really got in the way of crafting! I am back now as this is my first night off in awhile to be able to craft!! So I found a really amazing tutorial online on how to create ribbon flowers and I just had to try it with Close to my Heart's new Slate Polka Dot Ribbon!

These were so easy to make! All I did was sew the ribbon into a circle, create a basting stitch around the edge and gather! I also added the button.
If you have any questions just email or comment me!


Tuesday, August 21, 2012

Needing a Break!

Sorry about missing last night! School has just started back up for me again and I have been working like crazy! I will have to take a few days off so I will not have another post until Thursday, but I will have the complete list here so please do not miss out on the amazing creations I am sure my fellow consultants will make! Sorry about the interruption in creativity!

Complete List

Saturday, August 18, 2012

Day 19 Artiste! Halloween box

You should have just come from Gloria's Bloghttp://www.scraptabulousstudio.com/ but if you didn't don't worry it is a circular hop so you can just follow it back around!

So today was a free day and I chose to channel my Halloween spirit and make a little candy box! I think these would be so cute to hand out at parties or to trick or treaters! I cut the box at the recommended 4.5 and the pumpkin face at 2.5. Everything is from page 77 in the guidebook. The paper is Moonlight and the face is Smokey Plum.

This is with the lid closed.

Lid opened and waiting for candy!
Your next stop will be Adeline's Blog, www.adeline-brill.blogspot.com , just continue hopping around for inspiration! Complete list below!

Friday, August 17, 2012

DAY 18

You should have come from Gloria's Blog,  http://www.scraptabulousstudio.com/ and you will continue on the Adeline's blog, www.adeline-brill.blogspot.com . Sadly today I have no project to share as I worked last night and overslept this afternoon! I will be back to creating tomorrow!!

Thursday, August 16, 2012

Day 17 Artiste!

So our Artiste Blog hop continues on! You should be visiting me from Gloria's Blog, http://www.scraptabulousstudio.com/ but if you didn't don't worry! It is a circular hop so you will just circle back round. 

So today was a free day but I chose to do the recommended shape. The bow from page 55 in the handbook.    I also made a purse for the bow to go on. This is one of the purses I will be giving to my friend Sarah to hold gift cards in her salon. I cut the purse out at 3 inches and the bow and 3/4 in. The little sentiment is from the La Belle Vie Workshop On the Go stamp set. The little shape is also from Artiste!

This is the little purse. All shapes from Artiste!

Sitting up waiting for its gift card!
If you are interested in being able to complete any of these projects let me know and we will get you set up with an Artiste Cartridge! Your next stop will be Adeline at, www.adeline-brill.blogspot.com . I am putting the complete list below just in case you got lost along the way!

Complete List

Wednesday, August 15, 2012

Artiste Day 16!!

You should have just come from Gloria's blog, http://www.scraptabulousstudio.com/ . Don't worry if you didn't, it is a circular hop so you can just follow it back around! If you get lost on your travels just come back here and I will have a complete list at the bottom.

Today's shape was a Christmas Tree. I love Christmas and I am already planning ornament making parties, Advent Calendar classes and cards! This is perfect for anyone who has an apartment too small for a tree, or a mantel. I see endless possibilities with this. I used the Winter Wonderland paper that is retired. I have not been able to order out current Christmas paper pack yet! All the shapes I used are on the same button, and I used a tagline from the top of the paper for the garland. I hope this gives you some early Christmas Cheer!

Side one. The ornaments are cut at 1 in.

There is another ornament but it does not show up well in the pictures.


The star on top cut at 1.5.
Your next stop should be Adeline's blog, www.adeline-brill.blogspot.com , but remember I will have a full list below! Remember to stop by all the post for your Artiste inspiration and if you are interested in the package just contact me!

Complete List

Tuesday, August 14, 2012

Artiste Day 15.

You should have come from Gloria's Blog, http://www.scraptabulousstudio.com/ If you didn't don't worry, this is a circular hop so it will come back around. Please also keep in mind that I work over nights, so on nights I work I post very early. Please remember to check out the other fabulous ladies later!

Today's shape is a purse. I posted one awhile back that I used as a gift card holder. This one I was thinking would be a mini one for when you need to display a purse. Such as when you make a scene from a book. That seemed to be my teacher's favorite idea for book reports. :) Wish I had the Artiste back then!

Your next stop should be Adeline www.adeline-brill.blogspot.com I have a complete list below in case you get lost on your travels!

Complete List

Monday, August 13, 2012

Artiste Day 14!

You should have come from Tricia's Blog, http://craftingthedayawayy.blogspot.com/ If you did not do not worry I will have a complete list below for you to follow. You can always just follow all the way around to, because this is a circular hop!

Today's shape is a bow tie box. I am on a Holiday kick! I wanted to created a little Thank you back for some embellishments for a hostess who just had a party. I will say on my box I flipped my little tie the wrong way and accidentally embellished the wrong side! I just made the best of it and make some clothes pin closures. I used a new Halloween stamp set called Creepy Creatures. I know that Halloween is awhile away but this particular hostess LOVES Halloween. We created little Halloween cards at her party too.
These are the clothes pin closures. Below that is the finished bag. I think some of the other ladies will have a better definition of the collar.

 Your next stop should be Adeline, www.adeline-brill.blogspot.com I have the complete list below also. Thanks so much for stopping by!

Complete List


Artiste day 13

You should hve just come from Tricia's blog, http://craftingthedayawayy.blogspot.com/ . If you did not do not worry I will have a complete list at the end or you can just keep following around and circle back!

Today was the Strawberry box. Here in Billings we have a Strawberry Festival and I thought these would be cool to sell there with candy or baked goods inside, or even a souvenir ornament! I had some trouble getting a good picture, so I hope you can see them ok.


Strawberry box!


The top of the box.
Your next stop should be Adeline! www.adeline-brill.blogspot.com

Complete List

Saturday, August 11, 2012

Running behind!

I wanted to let you know that I will have something up but today has slipped away from me. My post will not be up until late tomorrow (prob around 5 MST) and I will have today and tomorrows posted together! Sorry! Head on over to Adeline's blog!www.adeline-brill.blogspot.com

Artiste Day 11

You should have just come from Lalia's blog, http://craftylalia.blogspot.com/ . If you are starting here don't worry just keep following and you will circle back around!


Today I made some of the accordion Flowers. These are super simple to make, you just cut out 2 strips of paper, at your desired size, and fold on your score marks, glue the ends together to make a circle, push your circle down in the middle and secure with a circle on the back. I also add an embellishment on the front, in the middle for extra security. I cut all mine at 2.5 inches today. I thought of ornaments when I saw these, as I am gearing up for Christmas. To make this an ornament I just added some hemp or bakers twine to my back circle with Liquid Glass.
This is all 4 that I made. Sorry the picture is so dark!

I chose not to make this one an ornament. I may add it to a wreath.

It is hard to see but this one actually will hang. It tips forward a little when it does so it
 is best hung from some were high.

I solved the tipping forward on this one by also securing it to the top
 as well as the middle.

This is the middle embellishment. It says Live Love Laugh.

This is by far the smallest one. I think it would look the best on a tree,
tho not a traditional Christmas Color


Your next stop should be Adeline!  www.adeline-brill.blogspot.com  I have included a full list of the hop below in case you get lost on your cyber travels!

Friday, August 10, 2012

Artiste Day 10!

The Artiste hop goes on! You should have just come from Laila's Blog, http://craftylalia.blogspot.com/ If you didn't don't worry! I will have a complete list at the end!  So today I am a very triumphiant Concultant. Why you ask? Well because I mastered the 20 Circle ball!! I have the pictures to prove it. :) Since to day was a free day I made a hostess gift purse also. Just a reminder to everyone joining us, this blog hop is devoted to the new cartridge, Artiste. If you have any questions or want to buy the cart please just leave a comment or email me!
Artiste Bundle
The Hostess gift purse and the ball.
So the first thing I want to talk about is the 20 circle ball. I have to thank Denise Hobbs (fellow Hopper) because she is the one who gave me the hint I needed to figure this out. I read her blog post on it and in her last paragraph she talks about putting the middle in. So the secret is after you put your first group of 5 together that is your top. The next thing you want to do is attach one circle to each flap on one side one only.

It will look like the picture in the left when you are done. Your next step is to adhere one circle on both sides in between the ones you just put on. After you do this you will be able to clearly see where the last 5 will go. It will look like the picture on the right. The finished product will be  a ball.

 The picture on the left is the ball hanging on my porch at night. The picture on the right is against the wall in my apartment.


Next I want to tell you about my Hostess gift purse. It is cut at 4.5 inches with Lucy Paper. I used the wooded color ready shapes (garden variety) to give it a little flair. This was simple to put together and comes out looking amazing. It is page 32 in the handbook. There are several different purse shapes, but I like this one because it have the little pocket inside! If you cut it smaller it would be perfect for gift cards of jewlery!  I am calling it my hostess gift purse because I plan to put hostess gifts inside!                                                                                                                                                              The picture below is the purse closed and ready to give. The strip along the bottom was just the zip strip from the paper I used
The Front of the Purse

The inside. I used the two reinkers as place holders, but I plan on putting  the petite perks stamp set I have in there!

Purse form the back.
Your next stop should be Adeline, www.adeline-brill.blogspot.com The full list is also below! Happy Hopping.

Blog Hop List